Imagine you have a pint of your favourite lager in your hand, condensation dripping gently down the side of the glass and just the right number of head. Then the second that beautiful beer touches your lips and suddenly, something’s not right. This isn’t the usual crisp taste something tastes a bit off, there’s a tiny flake of some sediment in the glass. Time for some maintenance! Here is our guide to make sure your home bar is well maintained and every pint your pour is perfect.
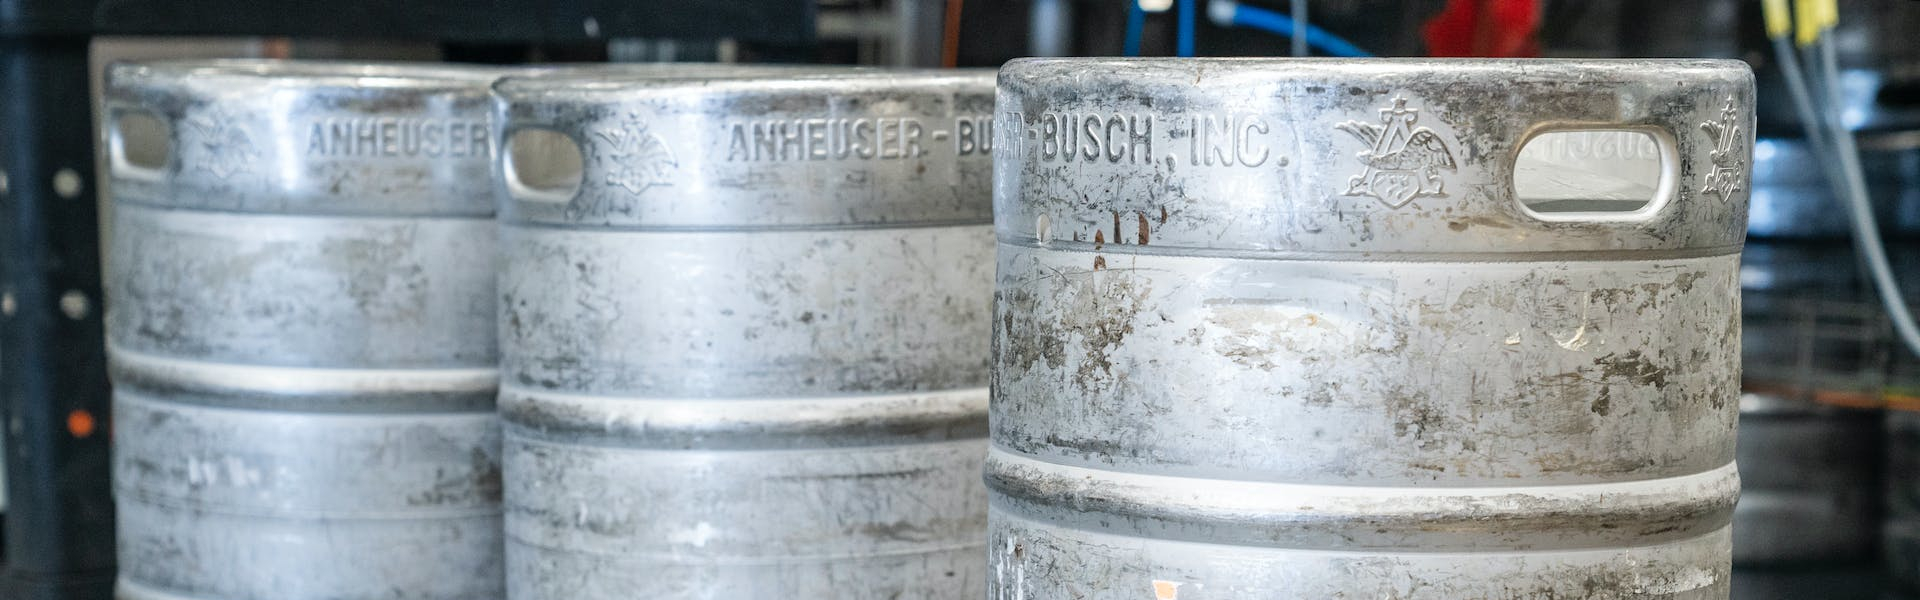
Did you know, the length of your draw line affects how long your keg will stay at its best? The longer the line the more opportunity there is for sediment, and bacteria to form in the system and oxygen to seep back into the keg. With a short pipe there’s less opportunity for this to happen, with really long pipes you’ve got a lot of beer not kept in the colder storage of the keg for longer. Speaking of Storage, a keg is usually good for about 3 months if it’s stored at an appropriate temperature in something like a kegerator, much less if your storage arrangements aren’t as consistent. That 50-litre keg of your favorite will last less than a week if your beer is stored at room temperature.
Believe it or not, size matters. If you are regularly finding that your last half a dozen pints from your 50-litre keg are a bit flat, you might be better served by using 30L kegs. Keeping a fresh keg on more regularly and running your maintenance routine between changes might help you make the best of every pint from the keg.

Unless you know the exact storage temperature recommended for your keg by the brewer, then its always best to aim towards the cold side when it comes to storage. Anything between 0 – 4 degrees for a good lager, though your better off aiming for 2 or 3 three degrees if your setup affords you the ability to set the temperature more precisely.
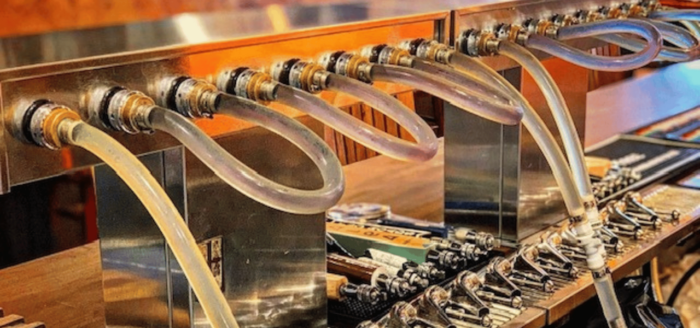
Let’s talk about those lines again, even for a short line its recommended that you insulate your lines as much as possible. Once the beer leaves the keg it immediately starts to lose that fraction of precious temperature that takes the experience down from elite level to very good. Well insulated lines will keep the beer that sits in the lines between pours colder for longer, so if you run off to tend your barbecue, shoot some pool or just shoot the breeze the next pint you pour will be much better.
Getting the gas mixture right for your keg can feel a bit like cracking a safe, but it is a crucial part of keeping your beer fresh and your pour on point. Too much pressure and you wind up with a pint of foam, too little and you might not wind up with a head of any kind and a flavorless mess.
Your ideal mixture will be 40% Carbon Dioxide and 60% Nitrogen, and you should be looking to maintain a pressure of around 41-43PSI (280kpa -300kpa or 2.85Bar). Minor adjustments may be necessary depending on what beer you’ve got connected and your setup.
Please remember though, you’re dealing with pressurized products that they can be extremely dangerous so make all changes and adjustments safely and in accordance with the manufacturer’s instructions.
As the owner of a home bar this is no longer an area reserved for pub landlords, this is now something you’re going to need to get to grips with if you want to keep your bar well maintained. There are a few different ways to clean your lines but the most flexible by far is with a hand pump.
When it comes to home bar maintenance, ensuring your beer lines are clean is crucial. Here’s a step-by-step guide on how to clean them effectively:
Firstly, gather the necessary tools and equipment, including rubber or latex gloves, safety glasses, a cleaning jar with a pump, beer line cleaning solution, a spanner wrench, beer line washers, and a bucket for collecting spent solution and water.
Step 1 involves disconnecting your draft components. Begin by turning off the CO2 tank and then disconnecting the coupler from the keg. Place a check ball lifter in the coupler, engage it, and set it in the bucket to collect spent water and cleaning solution. Use the spanner wrench to disconnect the draft tap. This is also an opportune time to clean your tap system thoroughly.
Step 2. flush and clean the beer lines. Fill the cleaning jar with the solution and warm water, then connect the line to the faucet shank on your kegerator. Ensure to use a beer line washer between the shank and the connector for the cleaning jar. Pump about half of the cleaning solution through your draft lines, then disengage the keg coupler and let the solution soak in the lines for 5-10 minutes. Re-engage the coupler and pump the remaining solution through the lines. Rinse the cleaning jar thoroughly and fill it with clean water, then pump the water through the lines to rinse them. Repeat this rinsing step to ensure all cleaning solution is flushed out.
Lastly, in Step 3, reconnect your keg. Disconnect the cleaning jar and reattach your draft faucet using the spanner wrench. Rinse the coupler thoroughly to remove any residue from the cleaning solution. Ensure to disengage the coupler and remove the check ball lifter before reattaching it to your beer keg. Finally, turn your CO2 back on to complete the process.
Like anything that gets used regularly parts get worn and wear down, make a check of all fittings, sealants, and washers as part of your home bar maintenance routine and then replace them as necessary. It’s recommended that you change your line completely once every 12 months.
A lot of effort goes into making your favorite pint, breweries spend vast sums of money calculating everything from the flavor profile, correct serving temperature and even the right type of glass to serve it in. A well-maintained home bar and a regular maintenance routine is the sure fire way to ensure you get maximum enjoyment from your home bar system. Look after your setup and it will reward you with perfect pints everytime.


We’re always on the phone, emails and social media ready to take your questions, orders or offer advice and services whenever you need it.
8:30am - 7pm open 7 days a week, inc bank holidays.